


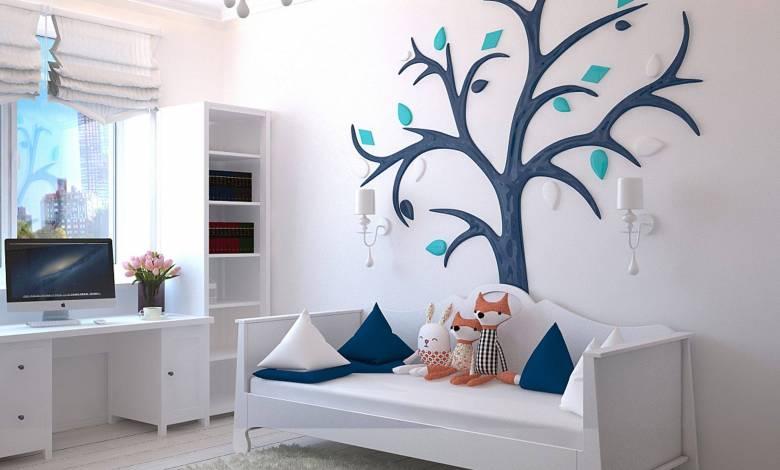
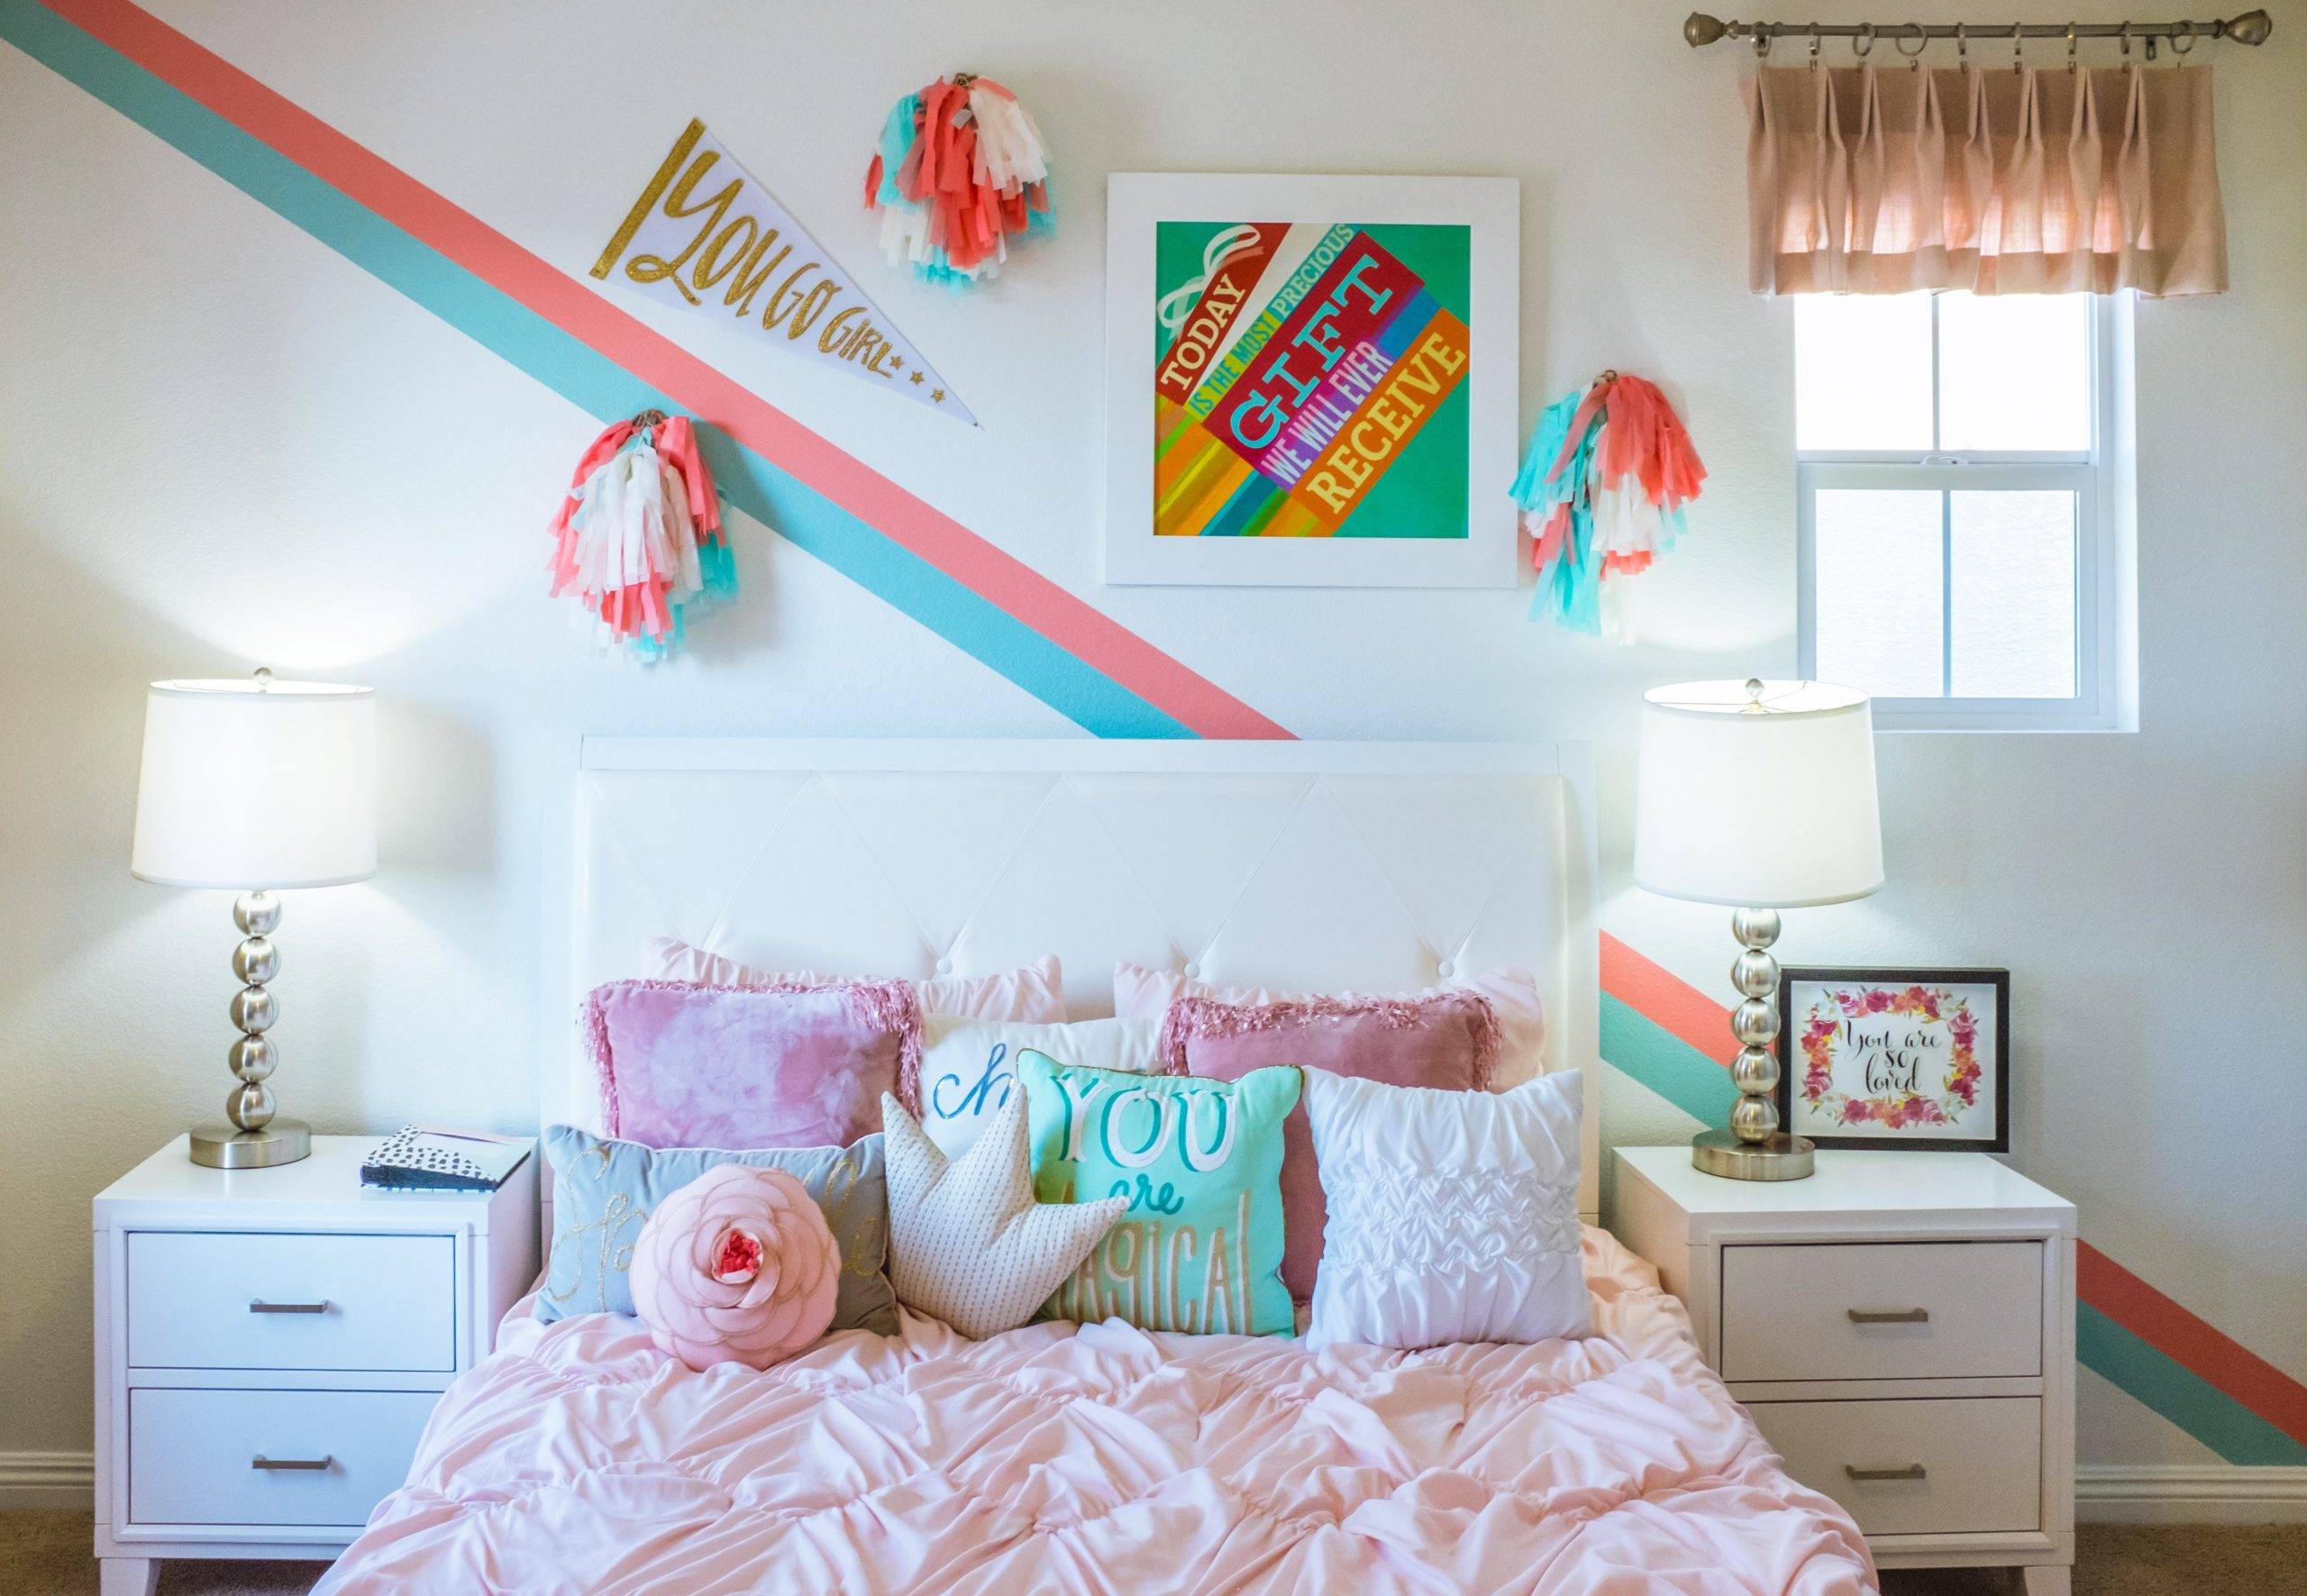
Getting a bedroom makeover probably ranks around number 3 for most exciting events that can happen to a kid—right behind Christmas morning and Disneyland. I mean, let’s be honest, even as an adult a bedroom makeover can be exhilarating. However, if you’re tackling the paint job on your own, the whole project can feel a little daunting—especially if you’ve never painted a kid’s bedroom before. Thankfully, it isn’t as hard as it looks. With the right equipment and a little bit of elbow grease, you can get a clean and crisp look that might even fool people into thinking it’s professional. But more importantly, your kid will love their new room!

1. Protection
You are going to want to protect your floors, furniture and yourself from paint splatter. While old clothes will do the trick, painter’s whites in the form of overalls or an apron are also a good idea. Generally, painter’s whites are cheap, allow for maximum movement, and have pockets to keep tools on hand. Plus, if your kid is helping you paint, it can make it even more fun to have matching outfits! It will be like playing dress up as painters.
Need to protect your floors or furniture? Old blankets that are ready to get tossed are an environmentally-friendly choice. Otherwise, opt for drop sheets. Fabric is highly recommended for floors as plastic tends to be slippery and can quickly become a hazard. However, plastic sheeting is great for protecting windows from splatter.
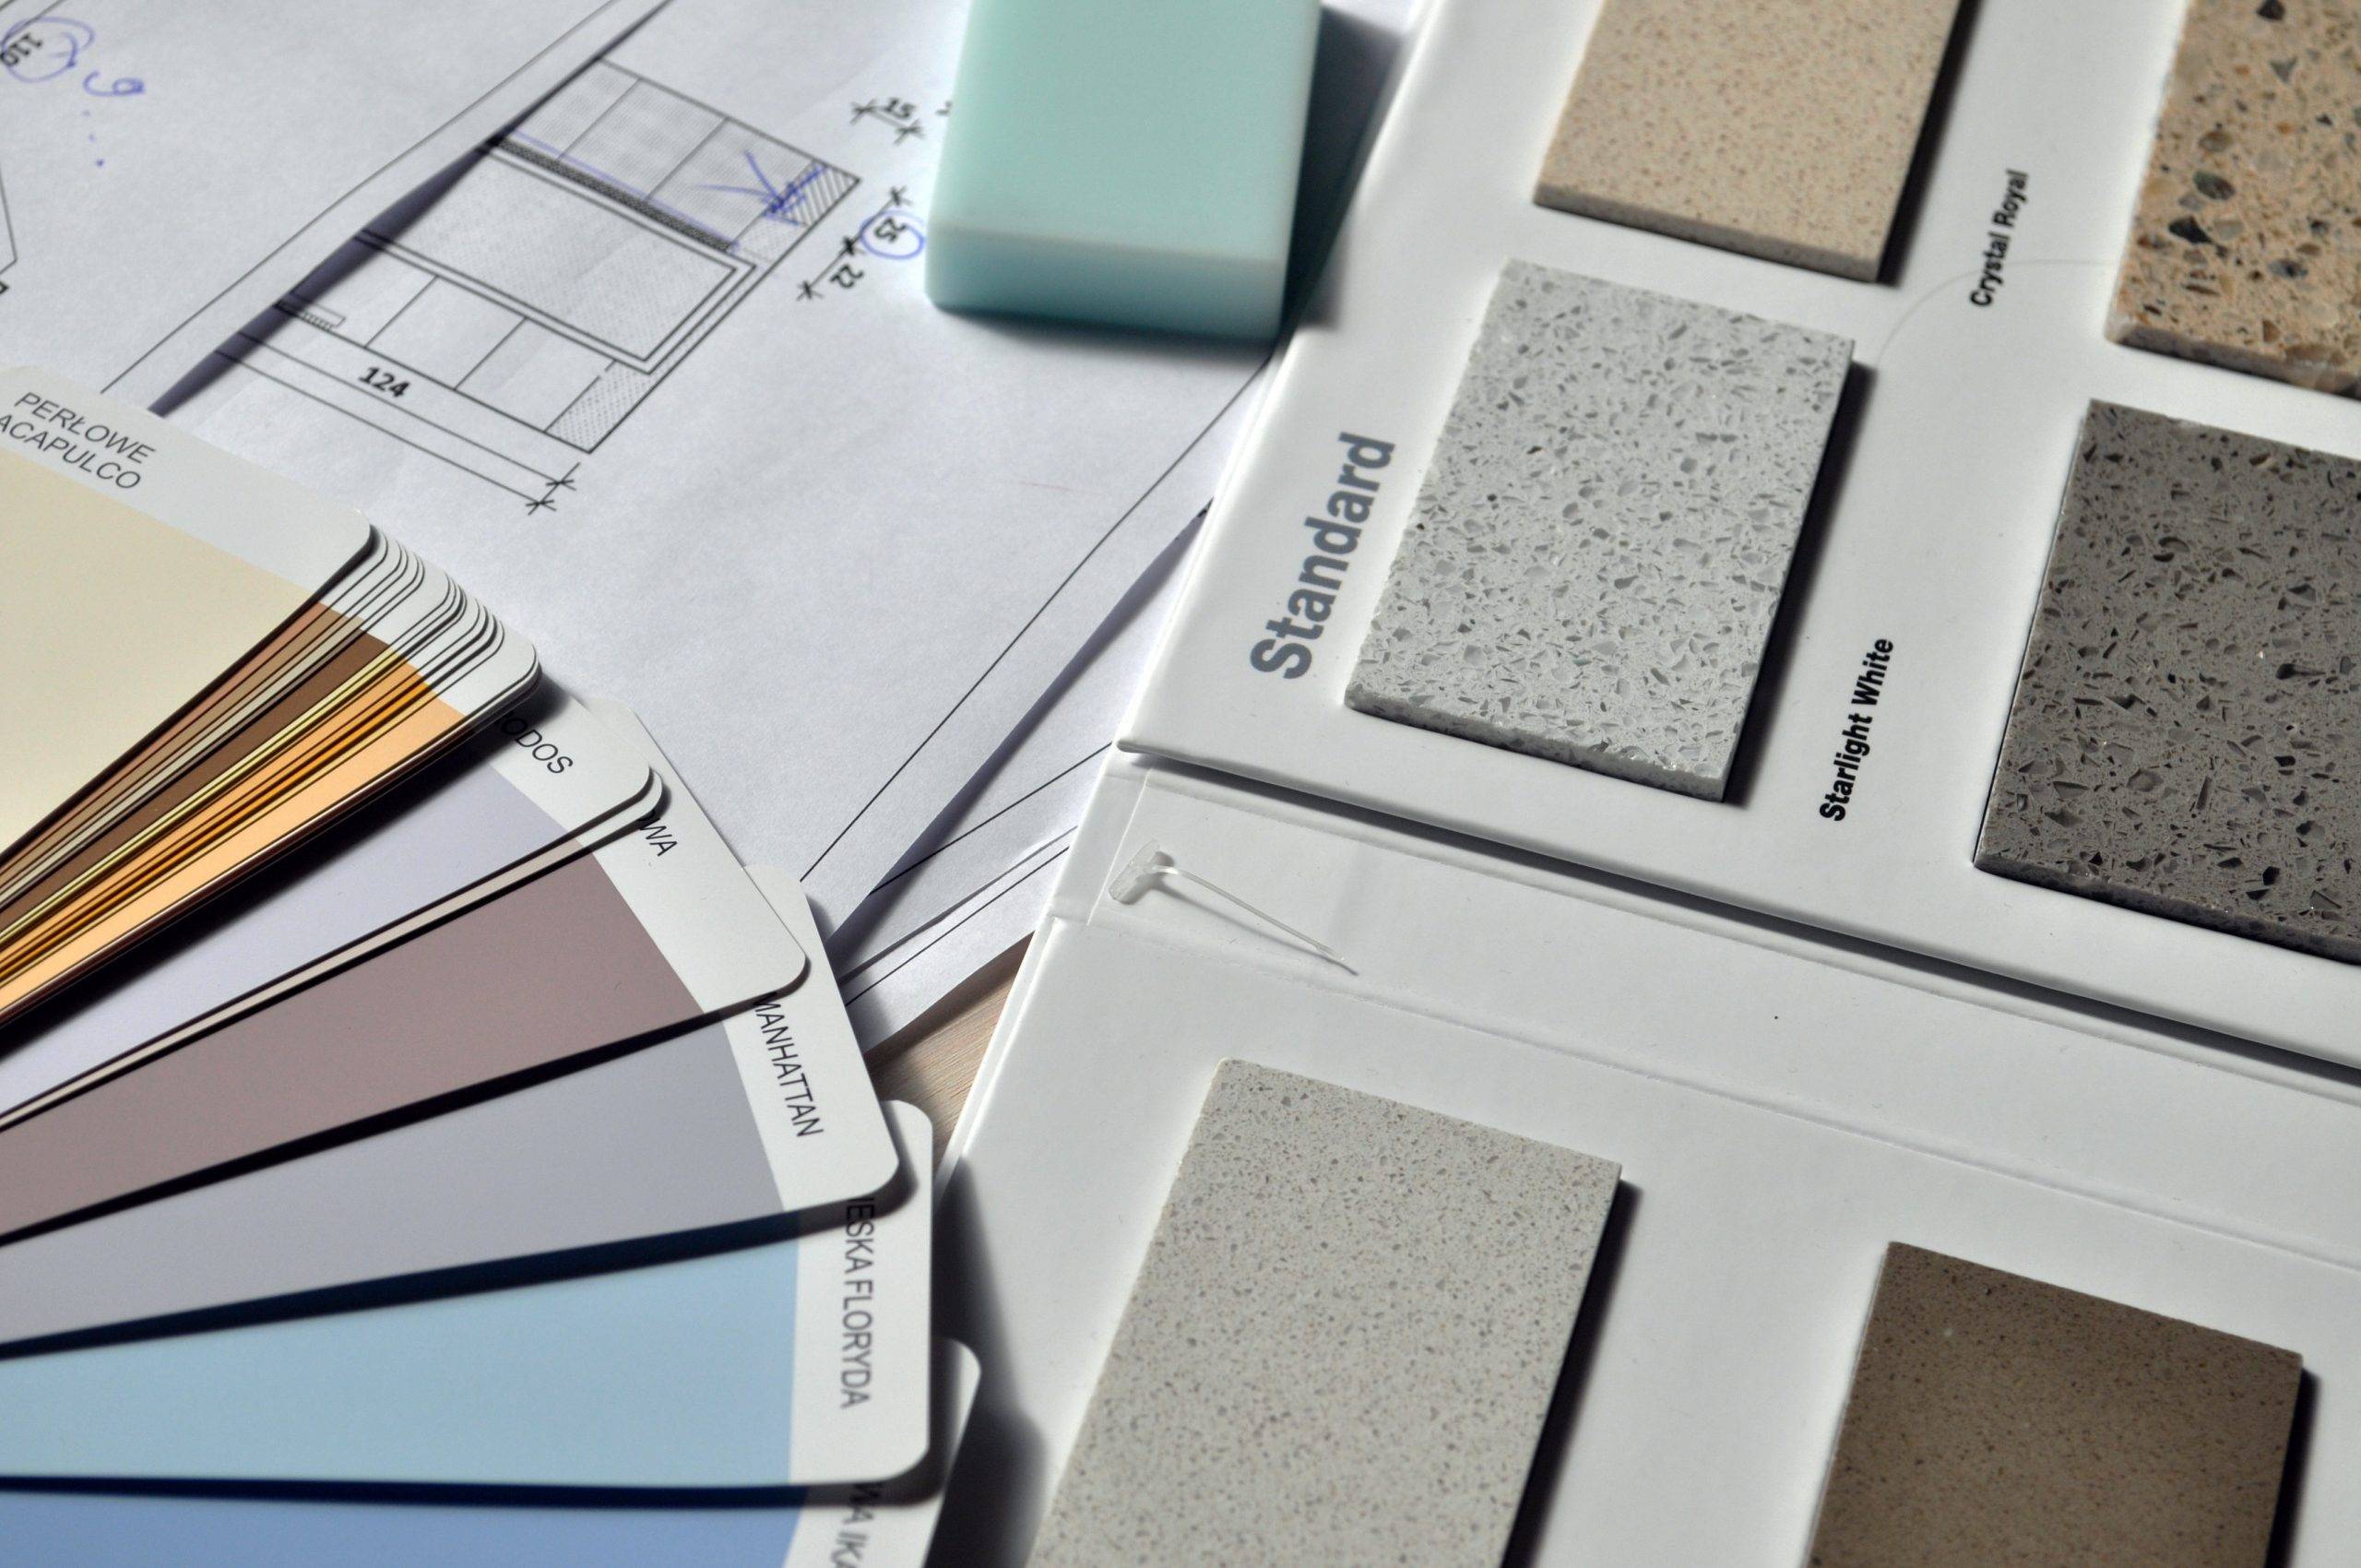
2. Swatches and Samples
Does your kid know what they want pretty quickly and stick to it? Or do they take forever only to change their mind? If the answer is they’re indecisive, then consider narrowing down the paint colors before you offer options. You can do this in two ways:
Paint Swatches: Bring home a handful of paint swatches and let them pick from that. Not only does this give them less to choose from, but seeing the colors in the light of their bedroom is also important. After all, chances are your kid’s bedroom doesn’t have the same lighting as the hardware store.
A Belonging: Paint technology has come a long way and now most places can even scan an item’s color to create paint of the same shade. This means that if you are doing a themed room based on your kid’s favorite character and they have a comforter or similar decorative item from that franchise, they can always pick a color from there. Or, do they have a favorite toy or stuffed animal? Maybe they would like their room that color. If an exact match is important to you here, you can always get a paint sample to try on the wall before committing to larger cans.
3. Tape
Whether it’s Frog Tape or some other form of painter’s tape, this is essential for getting crisp lines by the trim and ceiling. While taping can be time-consuming, unless you have a lot of experience painting and have a steady hand to cut straight lines, don’t skip this step. A step ladder can be handy during taping, as well as the painting process in general
Have problems with paint leaking and lines looking wonky? There are two key ways to get crisp edges.
Prime the Tape’s Edge: Before using your wall color, coat the edge of the tape on the wall with the color of whatever the tape is protecting. For example, if the tape lines a white ceiling, put a coat of the white ceiling paint along the edge of the tape. Why? This fills any small gaps and if any paint leaks through, it’s the same color as the ceiling. This is highly recommended for bold or dark colors, as botched lines are highly apparent with these contrasting shades.
Peel Before Dry: Don’t wait until the paint is 100% dry to peel off the tape. It is best to do this while the paint is still slightly tacky. Just be careful as you pull not to touch the wall with your hands.
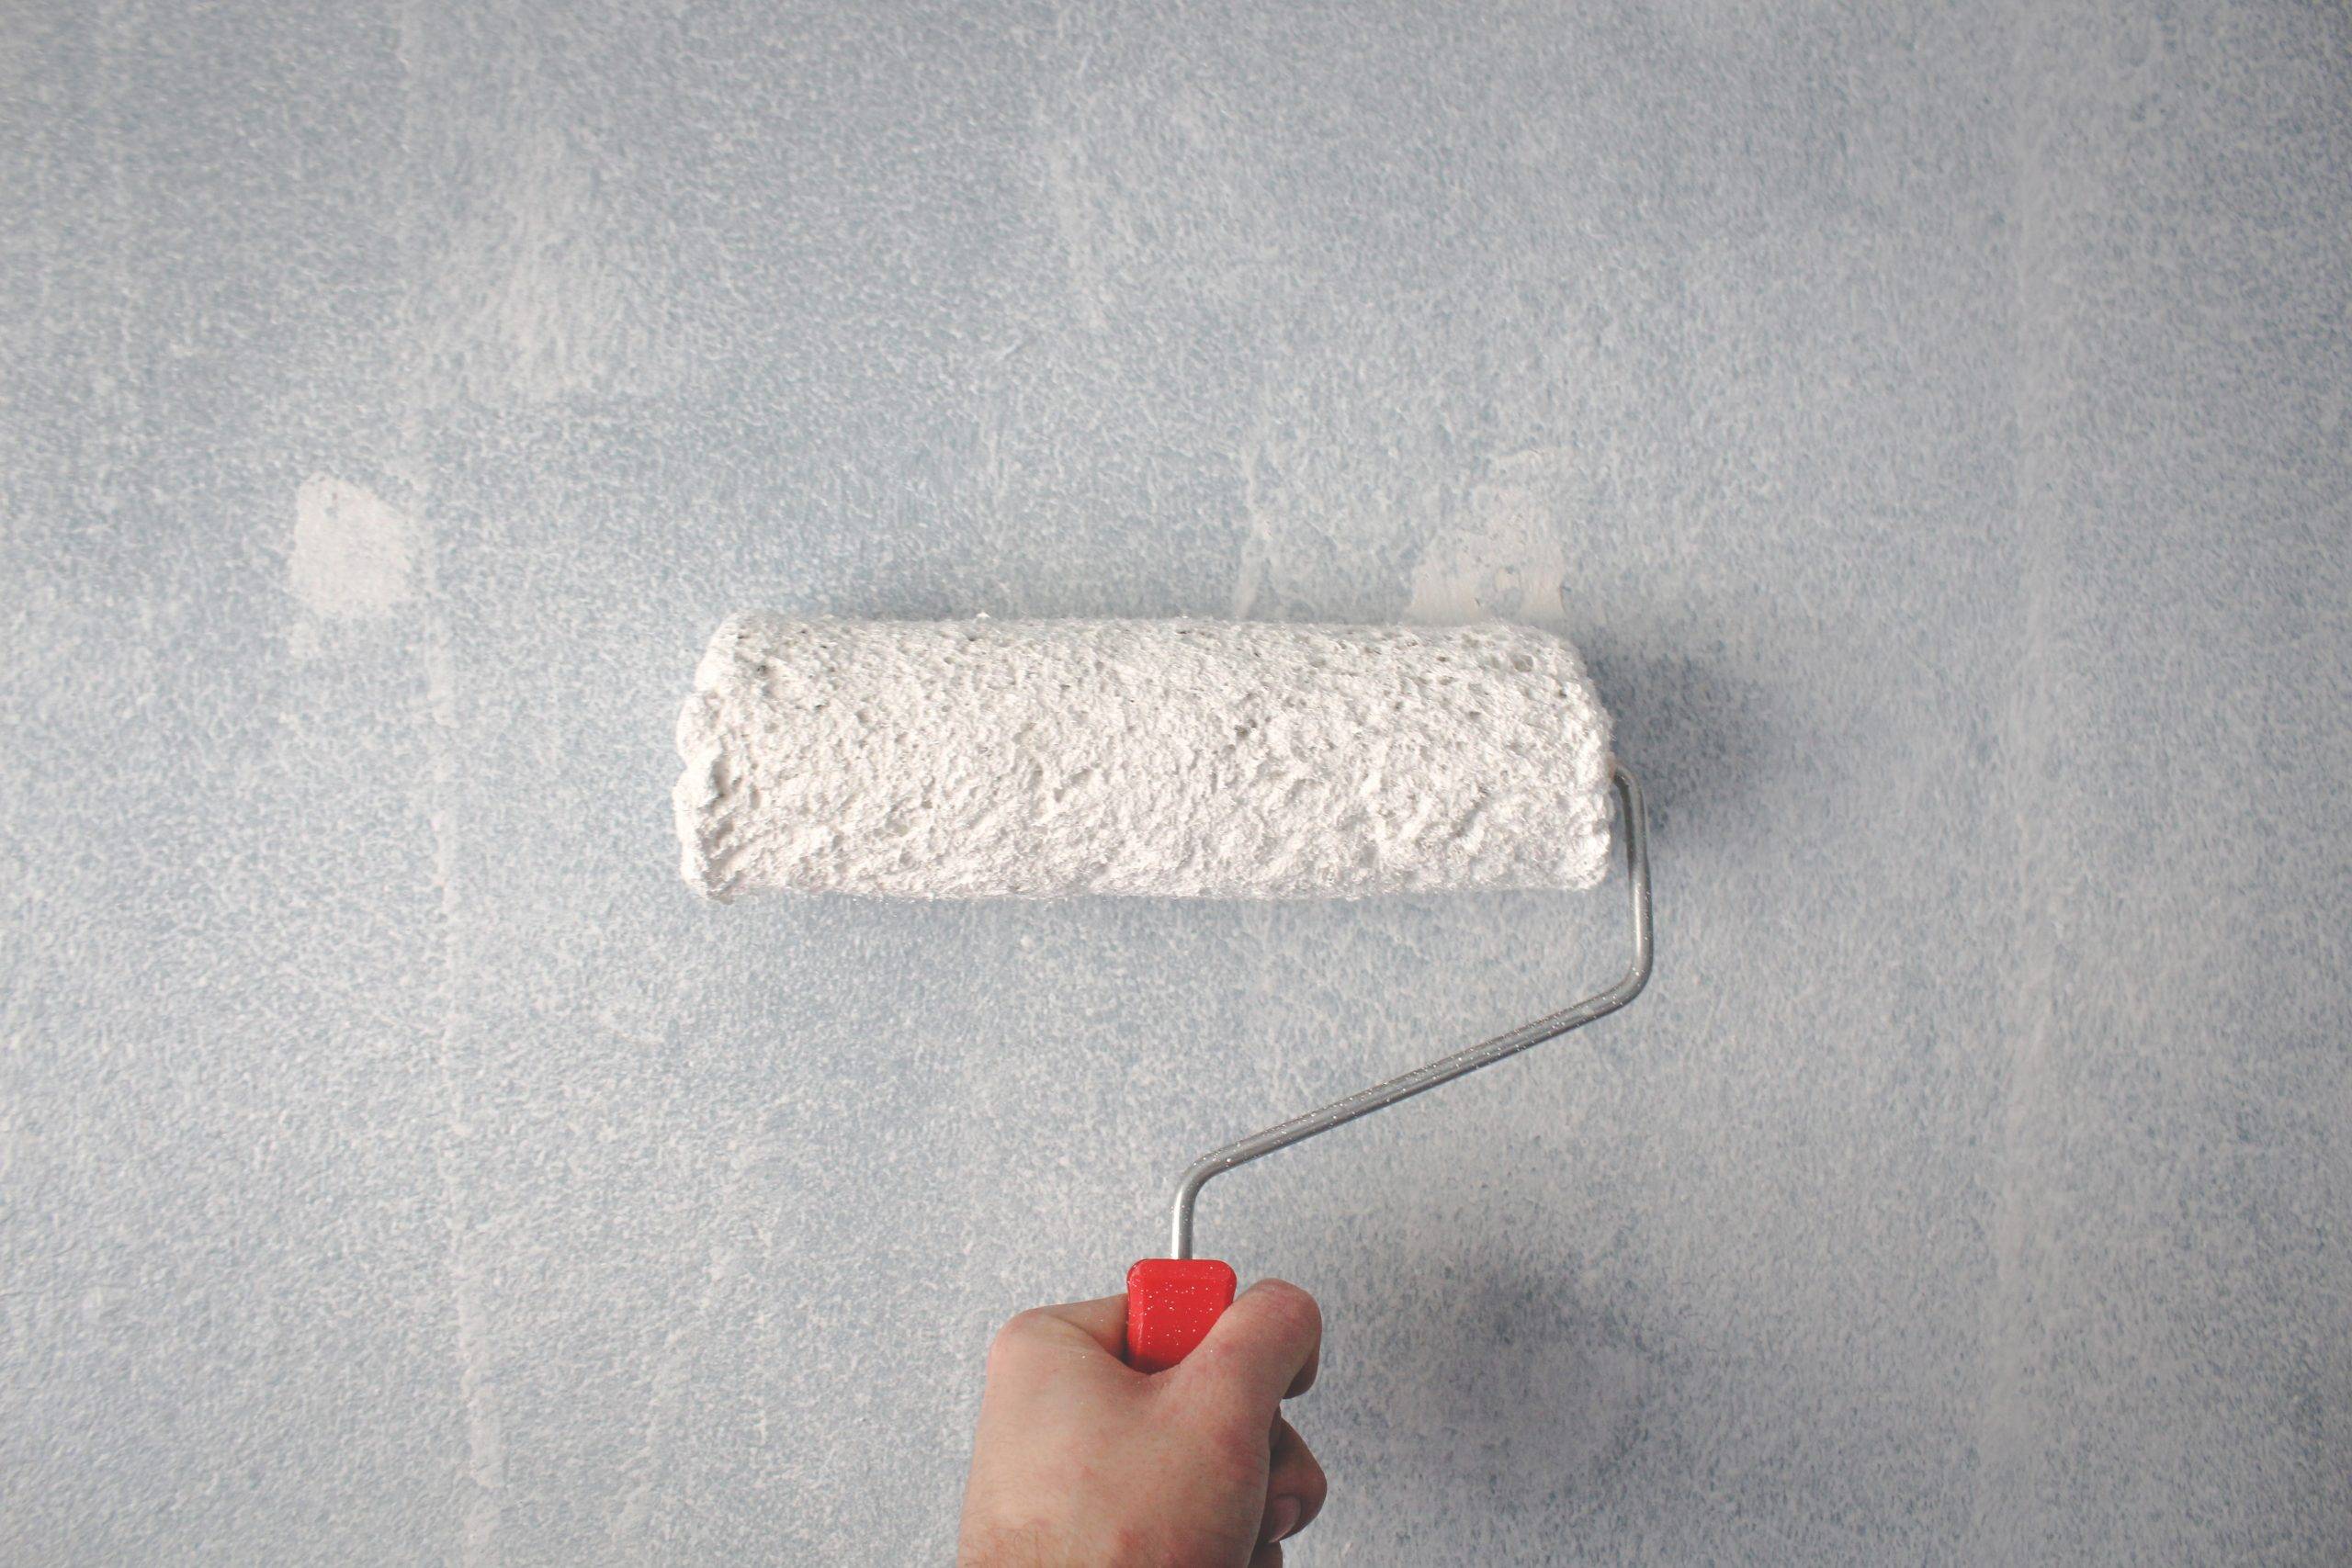
4. Paintbrushes and Rollers
While it’s probably no surprise you will need paint brushes and rollers to paint, the fact that quality matters shocks many. Cheap paintbrushes tend to do two undesirable things: streak and shed bristles. While cheap rollers will quickly wear down and leave lint fluffs fused to your paint. So how do you know which rollers and brushes to get?
Look at Reviews: People are always keen to share their negative experience, so if the item was a bust, you will surely hear about it in the reviews.
Ask the Paint Counter: The sales associate at the paint counter should know which brushes people tend to like and hate. Most have even tackled paint jobs themselves, so they have firsthand knowledge.
In the end, these rollers and brushes may cost more than their cheap counterparts, but anyone who has had to pick roller lint or paintbrush bristles out of paint will tell you it’s definitely worth it.
5. A Little Helper
Hand the kids a paintbrush and let them help! Just be aware of the fumes in the room. If your little helper plans on being in there a lot, a low VOC paint is highly recommended. Alternatively, if you don’t want them painting walls, but they still want to paint, hand them a canvas and a few paint colors. After all, the floor is already protected and the room is pretty much empty, so it is an ideal place to get creative and messy with paint. This is not only a great way to encourage art at home, but it can help your kid feel more involved in the process. Plus, adding their own personal artistic touch to the bedroom will make the final result feel extra special!
Painting your kid’s bedroom can not only give it a fresh look, but it is also a fun activity to do with your family. And by using the right painting equipment and supplies, you can do the job more efficiently and end up with great results. However, if your kid decides they want a hand-painted cartoon character on their walls, well, we can’t help you much there. But decals or a stencil may be in your favor. Happy painting!
This post contains affiliate links and I may receive a commission, at no additional cost to you, should you purchase through one of my links. Please see my disclosure for more information.